Installation
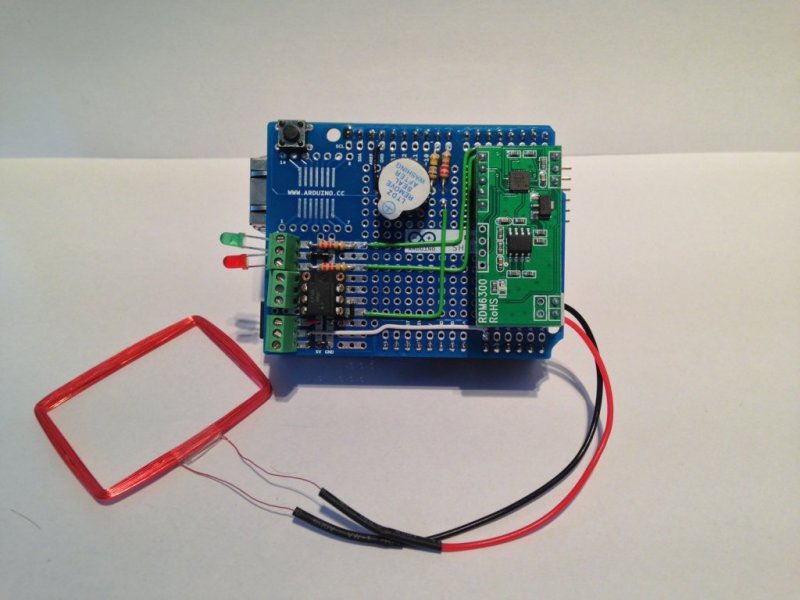
The lock is ready. You can now upload the program inside.
Arduino IDE
Start by downloading and installing the Arduino IDE available here. It will upload the program inside the lock.
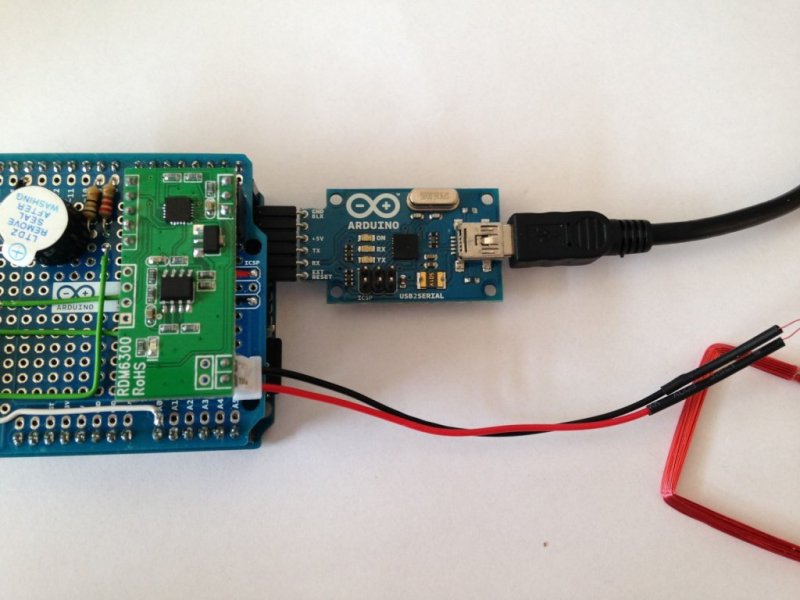
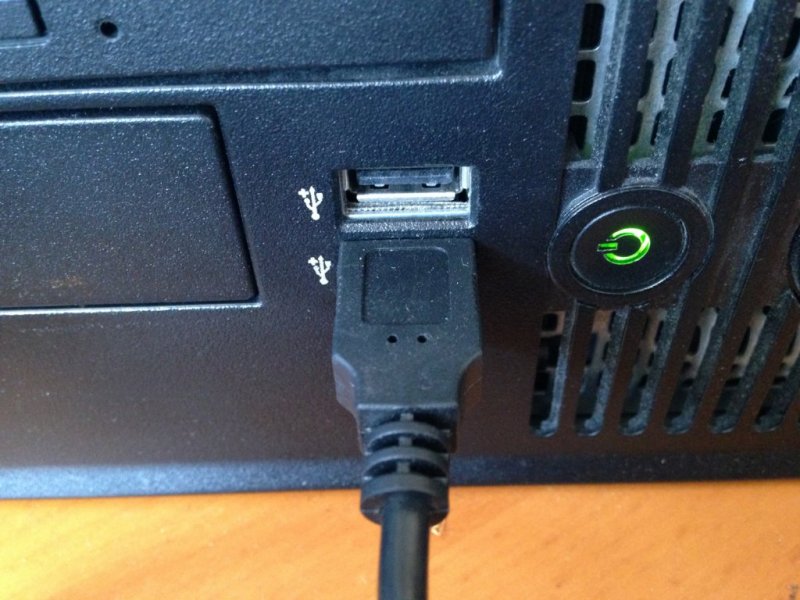
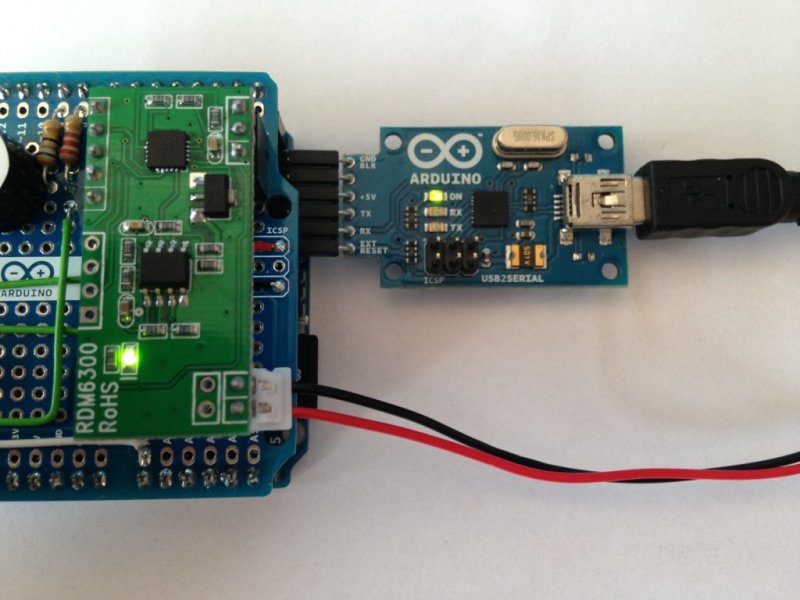
Connect the lock to your computer
Download the program
The software of the lock is available on GitHub here
Configure the COM port
Double click on the WebLock.ino file you just download to launch the Arduino IDE. Once the program is open, go to "Tools -> Serial Port" and select the COM port of your Arduino.
Configuring the card type
You must now configure the IDE to allow it to knows what type of Arduino the program will be uploaded. To do this, go to "Tools -> Card Type" and select "Arduino Ethernet" if you have an Arduino Ethernet or "Arduino Uno" if you use a Uno with Ethernet Shield
Configuration of the program
At the top of the software, there is an area that declares the variables used by the Ethernet card. You must enter your own informations. This is the list :
- IP address of the authentication server or a domain name
- The IP address that belongs to the lock
- The address of the DNS server on your local network
Upload the program
Now you have just to click on the "Upload" button at the top left of the IDE to start the process.